It’s often that you will find me in my office, nose deep in fabric, sequins, and thread, creating something. Often, it’s for a client like Almost Elton John or a costume for my son (like his no-sew Go Dog Go costume). Many times, I’m crafting something for our YouTube Channel like the incredible glowing Sword of Light, but my favorite projects usually have a Disney touch to them. Some of my friends have asked me why I don’t share more of my projects here, and I didn’t have a good answer. They are an integral part of who I am, and though I often finish projects at a high speed (old habits from my theatre days with deadlines looming), I am wretched at stopping to take photos.
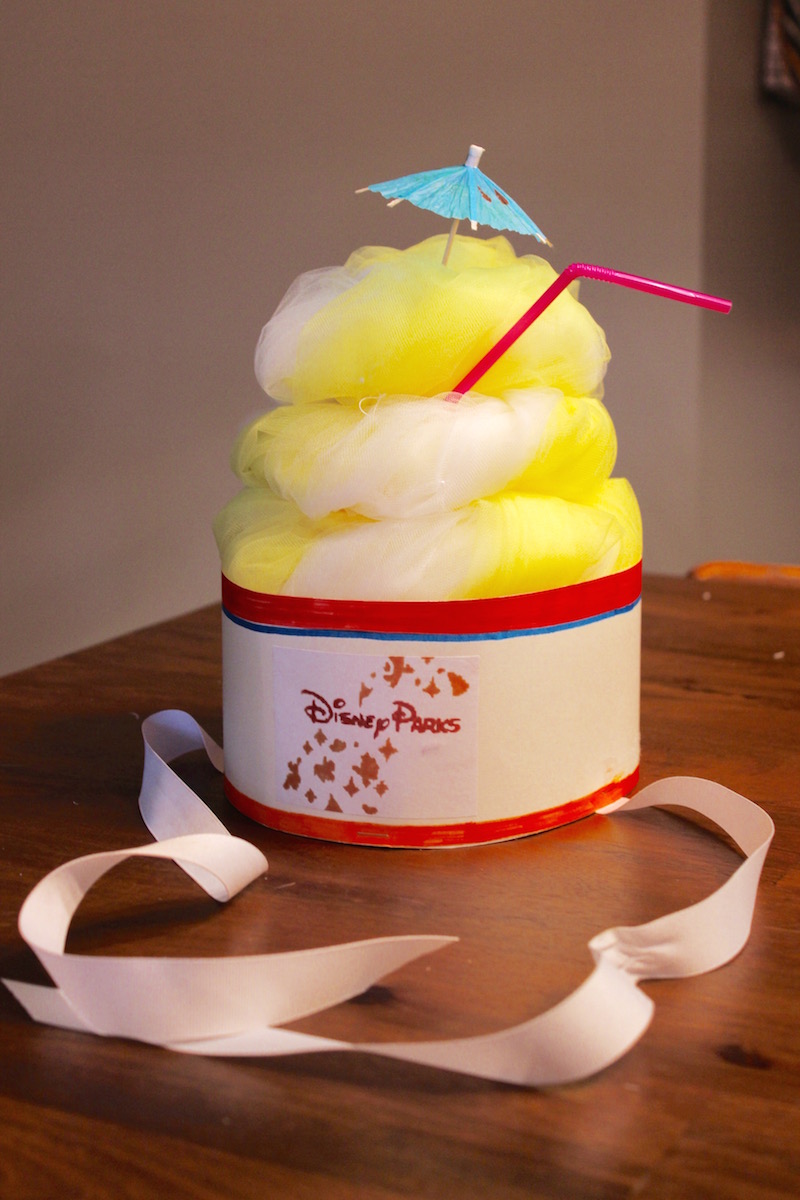
Nearly TWO years ago, I had to whip up a last second costume between infant feedings, so I settled on donning my yellow crepe skirt, a tank top and crafting a Dole Whip Costume hat to share my love of the snack. It was an impromptu craft, with a bit of trial and error, and a whole lot of on-the-spot creativity. I spent only a few dollars on poster board and tulle and got to work.

Since I didn’t have any item to actually base my hat on, I grabbed some wrapping paper scraps and started on a pattern for my cone. I wanted to create an inner base for the tulle to sit on, so I could use less and have a lightweight hat. After a little bit of snipping and shaving down the paper, I had a template to trace onto the posterboard.

Not too bad! I didn’t mind that it wasn’t perfect, because it’s all going to be covered by the Dole Whip substance. I stapled and taped the cone together a little haphazardly. Word to the wise – put the flat portion of the staple to your hairline so the pokey bits don’t scrape you.

Next up was the “cup” the Dole Whip was going to sit on. I scoured the internet for a small graphic of what the Walt Disney World food cups looked like at the time. This little image was then glued onto the poster board strip and I used markers to (terribly) paint the strip to match the cup. Creating a halo from this cup strip, I matched it to my head size and glued it shut. This created a circular crown shape, in which to set my cone.

Next up was the Dole Whip itself. I took two very long strips of tulle (yellow for the pineapple soft serve and white for the vanilla ice cream), and rubber banded them together at the top. I kept the tulle rather fluffy, instead of pulling it taut, to keep the soft-serve look. Then, I gently swirled the pieces together. I tucked (and then glued) the rubber band ends into the bottom of the “cup” around the cone base.

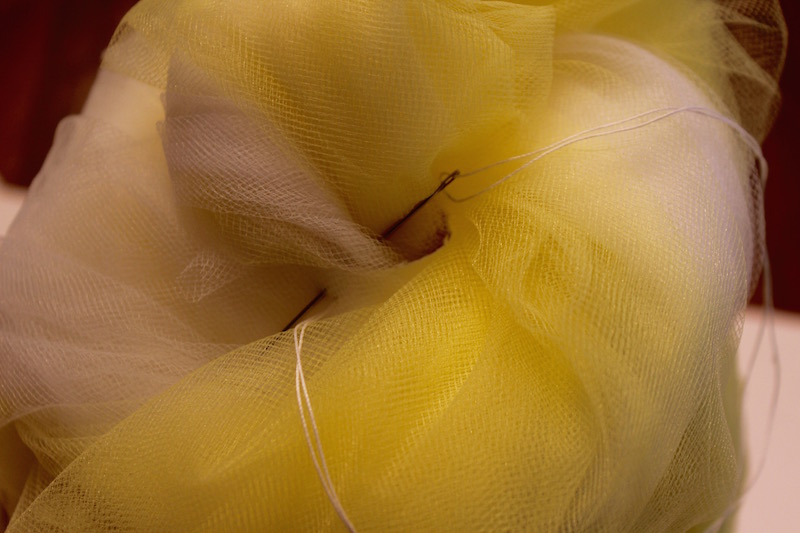
After wrapping the Dole Whip tulle up and around the cone shape, I trimmed and tucked the edges into the open portion of the cone. For added security, I whip stitched the ends to each other and the Dole Whip body and fluffed the tulle to a shape that I liked.

I had extra white grosgrain ribbon sitting around, so I used that for a chin strap, lazily stapling the ends to a position on the crown that I liked. This is where that trial and error process really set in. Fuss with it, until you like it!

Next up, PROPS! I had a drink umbrella and a bendy straw in the pantry, so I added them for a tropical touch. Had I a Mickey head straw, that would have graced the cup instead! For only $5-7 and about an hour’s time, I had my Dole Whip Costume Hat ready for the party!

The conference party, sponsored by Disney Parks, was themed to Mickey’s Not So Scary Halloween Party (If you need tips for your upcoming visit to the party, check out my 13 top tips for a successful and spooky visit!). I was so excited when I happened upon a girl dressed up as Orange Bird! We matched perfectly with her Orange Bird purse and my Dole Whip Costume Hat!

What costume will you make for this festive season of fright? Will you bring out your Disneyside or just add a subtle nod of nerdiness? I still have my hat sitting in my closet, so invite me to your next Halloween haunt and I just might show up as one of my favorite desserts!


Looks so cool! I like this hat
Wow!! I wish I could sew like that and make cool things.