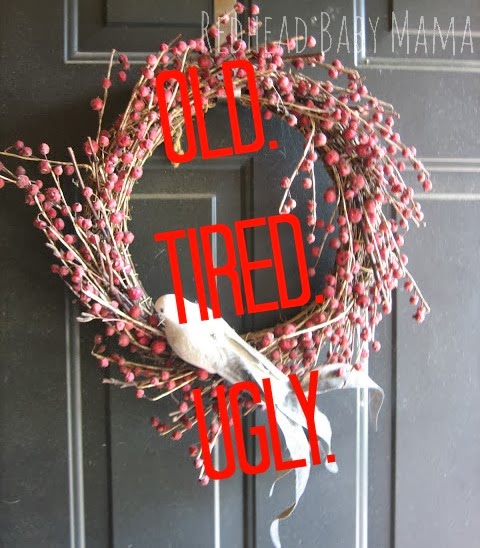
I’ve had the same wreath on the front door for 4 years. It was bought at Christmas, and just stayed there until I noticed the “berries” starting to shrivel and dry out. Like, until the next summer, when my Mom came to visit and nearly had to roll her eyes at it. Just kidding. I was the one that did the eye rolling. And the noticing of the mildew on the berries. Ew. Just ew. It’s about time for something fresh on that front door.
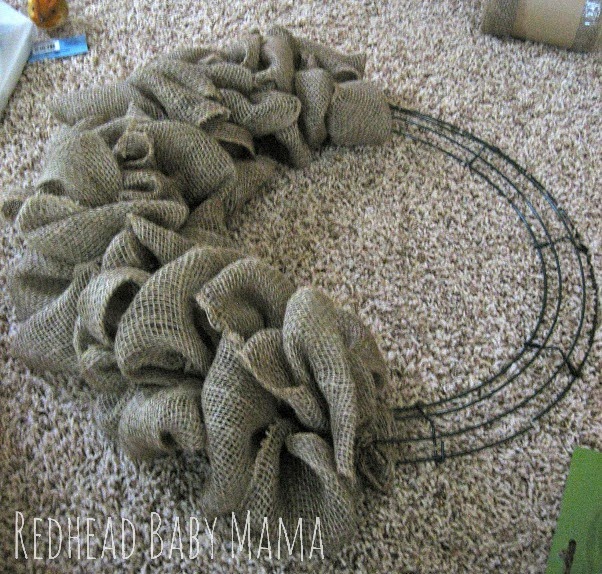
I ran my butt out to the craft store and got one 18″ metal wreath form, 2- 15 foot rolls of burlap, moss packet, and a new little orange bird (isn’t he CUTE?! Maybe I need an entire wreath of little birds…..).
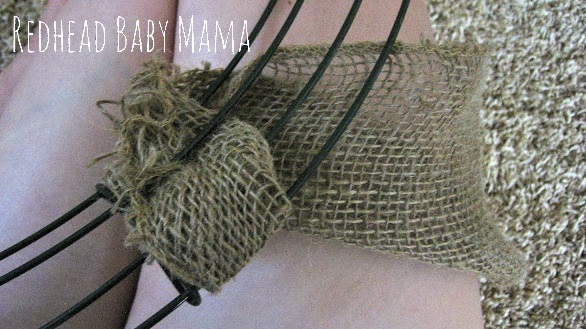
I started by wrapping an end of the first burlap roll around one or two of the metal loops. Something sturdy and shut, but not large or cumbersome. This way, the knot remains functional and doesn’t overwhelm the rest of the wreath.
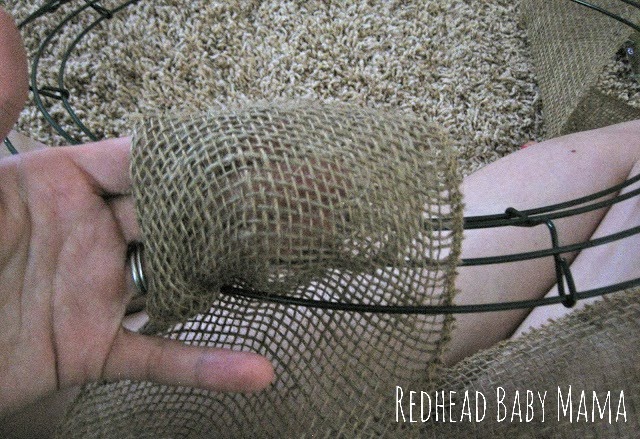
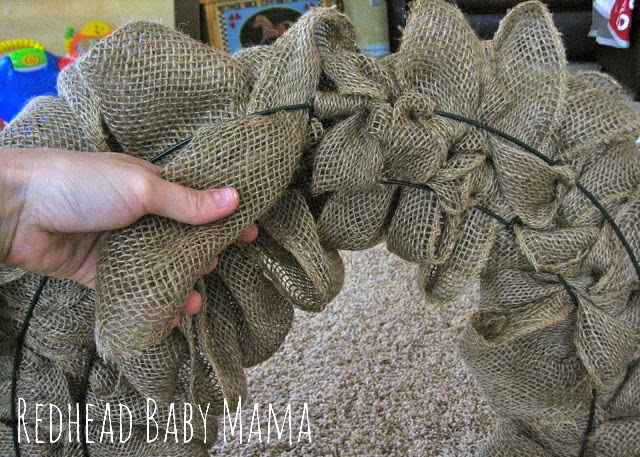
Next, from the back of the wreath frame, loop the burlap up into the most outside space of the frame. Move over to the middle space, loop again, and move to the inner space, loop. After you’ve done a bunch of loops (about 3 fingers high), squash them gently together.
You’ll end up with something like this. As for which spaces to loop, use your judgement. Loop from outside to in, and then inside to out to save on burlap. Squish the loops together at your discretion to create a fuller or looser wreath. (My toenails are still painted in this photo. Score: Mama – 1. Toy background disaster – 2. )
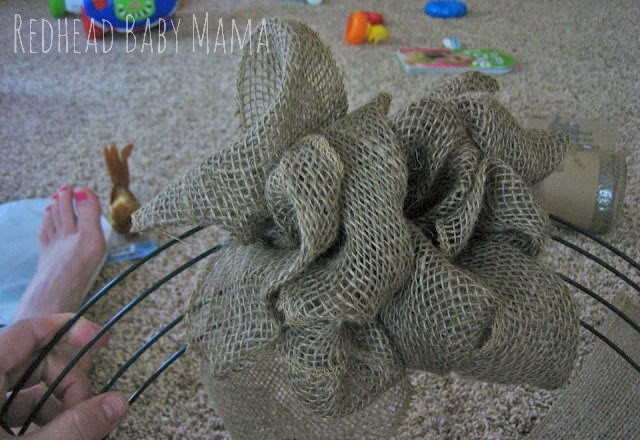
I used one 15′ roll of burlap on exactly half the wreath. If you were doing a 12″ wreath, one roll of burlap would be plenty. Since I was doing a large wreath (18″), I specifically used 2 full rolls on the wreath in order to have extra fullness.
Once I finished with both rolls of burlap, I had a loose end to deal with. I tucked and wrapped it into the frame. No end knot means no extra bulk. The flat back of the wreath will lie nicely against the door.
When I finished, the front looked like this! I could have hot glued my additions onto the wreath, but the burlap was very “grippy” and the moss was pliable, so I just twisted it into place and folded the ends between the burlap loops.

Hung on the front door, it makes the porch look so much nicer and cleaner! Find my pin here on Pinterest, and while you’re there, follow me! What have you made or DIY-ed lately? Anything for your home?

I am not the crafty person you would think I should be since my mom was a craft soul but this is one thing I just can’t do lol. Love it though and it looks nice especially on that color door.
Adorable!!!i love the pumpkin patch!! Which one did you go to?
Looks like you guys had a lot of fun. Did he get to pick out his own ‘punkin’ this year?
Thanks! I never thought about the door color – it need to be freshened up! Maybe I’ll do the same color again?
He sure did! The one he’s giving “loving” to up top was the one we took home!
We don’t go too far. Red’s school hosts this one, and it benefits the indian reservation that grows them as well as his school. win win!
I love this wreath! The burlap is a nice touch!
Your wreath looks good, very simple and adds just a touch of flair.
I love this!! Great job!!!
Gorgeous! I need to make this! I love the texture of burlap!
You made that look so easy! Love it and can’t wait to make my own.
Girl, that is super cute. I too have a burlap wreath on my front door, but it is constructed in a totally different way. I would love to use the colored burlap…maybe green and use your technique for a Christmas wreath. Very cute!
That is so awesome, I wish I had the talent to do something like this. Are you planning on changing the wreath out throughout the year? Or is that one going to be staying awhile?
Love the clean look of it and it’s perfectly Fall. It could be adapted to to many seasons as well!
Love this wreath. In fact, I have a form in my laundry room that needs a purpose. And I just laughed at your mildewed berries. My nativity from last Christmas is still in the bay window in my bedroom. The cat has knocked everyone over, but I just never got to putting it away, so now I’m just early, right?
Love your wreath! The moss and the birds give it some great fallness.
oh wow! that’s fabulous! I really wish I was crafty!
Oh my gosh, that is SO cute! What a great idea, a wreath like that would cost a ton in the store!
Very nice! I love how you bunched all the burlap up for that fullness.
Now that came out gorgeous!
Wow. I LOVE this! Your burlap wreath came out fantastic!!
That is beautiful. I love that you made it yourself and how easy it looks.
I love this wreath!
Love! I need to find some burlap and play with it for fall decorations!
That turned out so fantastic! It’s so full! Love it!
Thank you – it’s held up really well, too!
Super easy and fairly cheap, too! I’m thinking rustic Xmas with my next roll!
Thank you – totally easy, you can do it, too!
Thanks. I like to think the little birdy had something to do with it. Too cute!
Thank you!
Sometimes I think I smushed it too much, but it’s very full!
RIGHT?! That’s why I had to do it myself…. methinks I feel an etsy store coming on…
You can totally do this – super easy and very light!
Sure does, Now I want a wreath full of birds. Maybe in the spring??
lol. They were SO MILDEWY. And yes, you’re totally early, you’ve even beat me to the Xmas decor, which is hard to do 😉
Yes! I think when Thanksgiving passes, I’ll change out the moss and bird to something else. Ribbon and sliegh bells?
I think he’ll sit until at least Thanksgiving, and then I’ll put it away until next fall. Or maybe I’ll change out the accents for something more Xmasy!
ooooooh green burlap. If you find it, let me know!
It was super easy – you totally can do this in 30 minutes. Call is a naptime craft!
Super easy – you can do it!
Thanks! It was my first try, too! 😉
Thanks!
I think this looks fantastic!! I absolutely love it!!! Great job!!
Thank you so much – for a fall wreath, it’s very cheap and easy.